This project took me really long to finish. I spent so much time trying to write a comprehensive blog post on explaining the project. But I realized my goal is to create 100 projects in using Angular framework, not to produce 100 how-to tutorials on Angular.
So this post is rather an update on what I’ve done than a guide post.
In this project, I’ve created a website with a dashboard which is password protected. JWT authentication is implemented using a backend created in Django and hosted in my c9.io instance.
In this project, I’ve created the following:
A password protected dashboard component
An authentication service to post request to backend API
A login component
An http interceptor to include JWT token in the http request
This project has two components; the main page and audio track player page. On the home page, four images of famous Burmese Monks are shown in card style. When the user clicked on a card, they are brought to a player with the dhamma talks of the selected monk.
Basically, I am trying to learn how to use the Angular router for navigation between different components in a single page application.
Everything went well, except for one thing. I have been spending way too much time messing around with CSS and colors instead of focusing on functionality.
So, from now on I will spend less time on design aspect and more on functional aspects for future projects.
In this project, I created a web page which fetches a random quote from an API endpoint and displays it on the page.
I have learned a few new concepts while creating this simple web application, such as
using services to separate fetching data from components
using observable and Angular HttpClient for fetching data asynchronously and providing a way for the data to be consumed from a component
calling child component’s function from parent component using @ViewChild
Service, Observable and HttpClient for asynchronous API call
This file contains hidden or bidirectional Unicode text that may be interpreted or compiled differently than what appears below. To review, open the file in an editor that reveals hidden Unicode characters. Learn more about bidirectional Unicode characters
Using service to get a random quote from a component
This file contains hidden or bidirectional Unicode text that may be interpreted or compiled differently than what appears below. To review, open the file in an editor that reveals hidden Unicode characters. Learn more about bidirectional Unicode characters
Calling child component’s function from the parent component
This file contains hidden or bidirectional Unicode text that may be interpreted or compiled differently than what appears below. To review, open the file in an editor that reveals hidden Unicode characters. Learn more about bidirectional Unicode characters
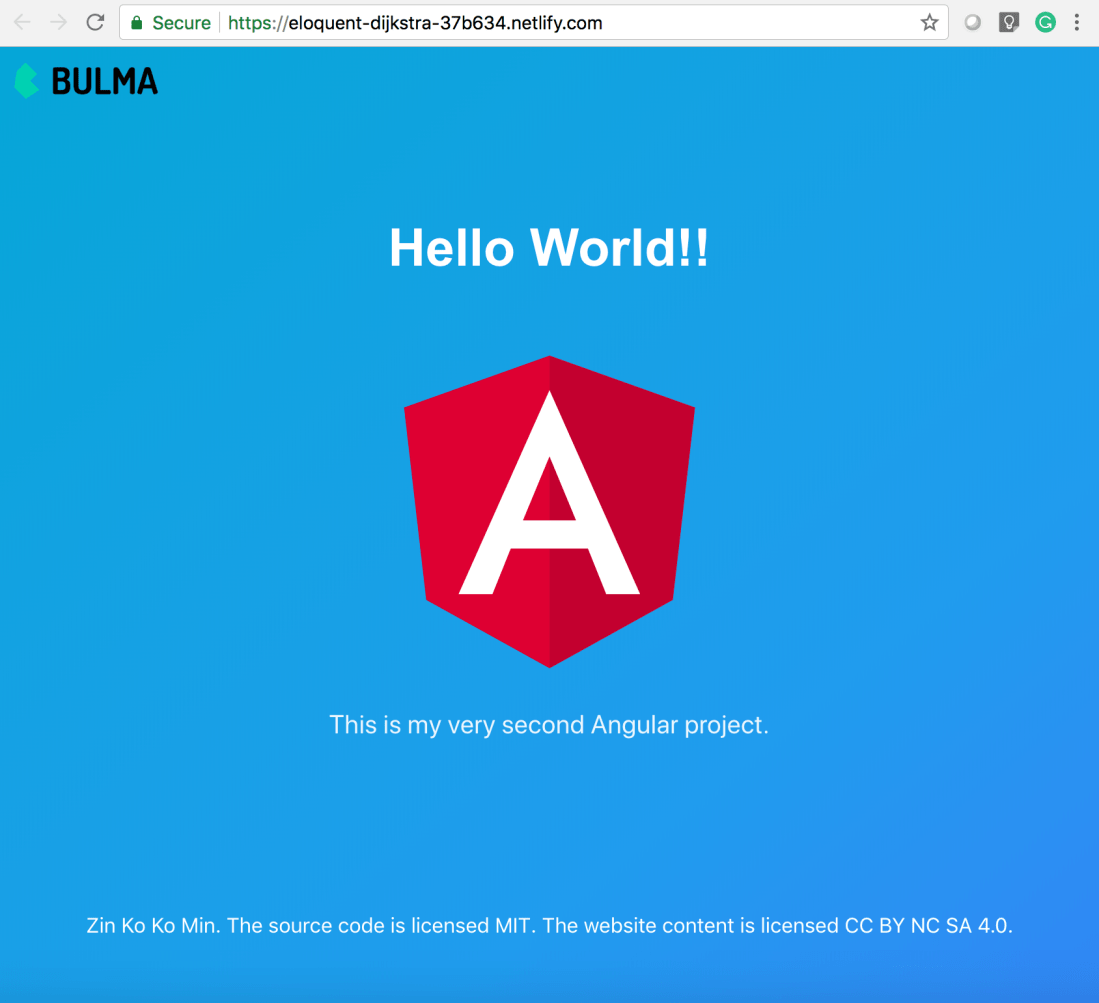
This is the second post from the series of 100 angular projects I am doing. You can check out the first post here.
Based on the previous hello world project, I decided to have a little fun by adding CSS framework Bulma which is the new cool kid on the block. Watch out Bootstrap!
First I added the Bulma in the project using npm install:
npminstall --save bulma
Second I imported the Bulma in src\styles.css:
@import "~bulma/css/bulma.css"
Now Bulma styles are available globally. Afterward, I created two components for header and footer.
ng generate component components/header
ng g component components/footer  ## g is shorthand for generate
This will create header and footer components in src/app/components folder.
Edit the header.component.html, footer.component.html, and app.component.html for the Bulma hero layout look.
Let’s create a header with only a brand logo.
This file contains hidden or bidirectional Unicode text that may be interpreted or compiled differently than what appears below. To review, open the file in an editor that reveals hidden Unicode characters. Learn more about bidirectional Unicode characters
Finally, add those components into the main app.component.html.
This file contains hidden or bidirectional Unicode text that may be interpreted or compiled differently than what appears below. To review, open the file in an editor that reveals hidden Unicode characters. Learn more about bidirectional Unicode characters
I used to learn a lot of programming languages for fun. When I found someone recommends a language online, I would check out the tutorials and blogs, and learn basic syntax of the language for a few days. But eventually the initial curiosity wore off and I would move on to something new and shiny.
Yes, I am one of those people who do a lot of tutorial and online courses but never create anything. I hate myself for this and decided to do something about it.
So I am starting this experiment to create 100 web applications in Angular.io. They are not necessarily going to be good apps. They may be shitty and useless. I don’t care. What I want to know is can I make this hundred times no matter what?
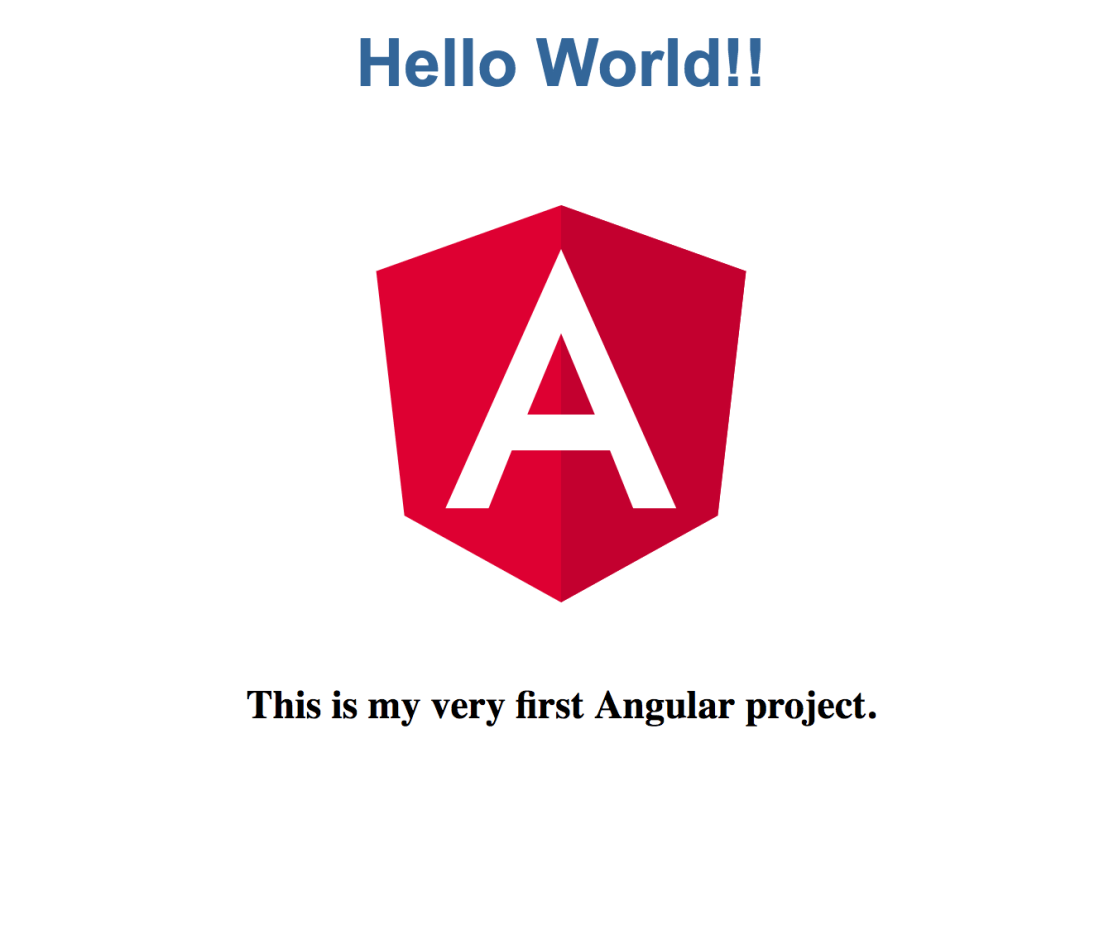
As a first project, I am creating a time-honored tradition of creating a hello world app. The functional specifications are as followed:
A web page displaying “Hello World!!”
Deployed on a server
A git repo
The official guide from the Angular website has enough information to accomplish the task. For deployment, I use firebase, which provides a super easy deployment and hosting.


